Enjoy amazing discounts on handmade crafts AND MORE!

The Art of Waterslide Decals
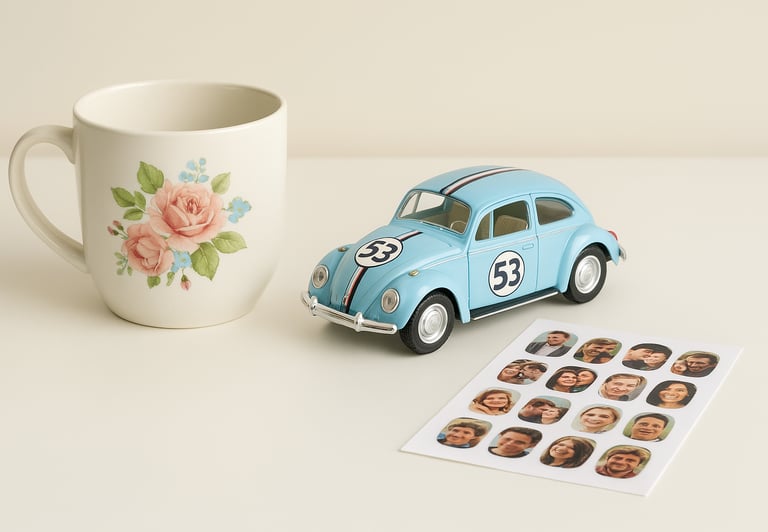
Ever wondered how some crafters get those incredibly intricate, professional-looking designs onto tumblers, candles, and ceramics? The secret is out: it's the magic of waterslide decals. Today, we're diving deep into this versatile technique so you can start creating custom masterpieces at home.
TUESDAY TIPS
Harmonee
4/22/20261 min read
Step 1: Surface Preparation
Before the magic happens, you need a clean canvas. Whether you're working with wood, glass, or plastic, the surface must be free of dust and oils. Use a little rubbing alcohol to wipe down your item and let it dry completely. Smooth surfaces work best, but with a little patience, you can master curved items too!
Step 2: Print & Seal
This is where many crafters feel intimidated, but I've got you covered! When you order from us, I will print your image onto high-quality waterslide paper. For a small additional charge, I can even die-cut the decal for you to ensure perfectly crisp edges. Most importantly, I seal the image before shipping, so it arrives ready for the water dip.
Step 3: Applying the Decal
Fill a small bowl with lukewarm water. Submerge your decal for about 5-10 seconds. You’ll know it’s ready when the decal starts to slide easily against the paper backing.
Wet the surface of your object slightly first—this helps you slide the decal into position.
Gently slide the decal off the backing and onto the object.
Use a damp paper towel or a soft squeegee to gently push out any air bubbles or excess water from the center outward.
Step 4: Sealing & Finishing
Once your decal is in place, let it dry for at least 24 hours. To make it permanent and durable (especially for items that might be handled often), apply a final coat of sealer. Depending on your project, this could be more acrylic spray, epoxy, Modge-Podge or a water-based polyurethane